What Not to Wear for Maternity Photos (And Why Most Photos Look Flat)

Choosing what to wear for a maternity photoshoot is often framed as a question of style. In reality, it is a question of structure, light interaction, and visual impact.
Many outfits that look beautiful in person or on social media fail under professional studio lighting. The result is often disappointing: images that feel flat, undefined, or lacking presence.
This guide breaks down what not to wear and explains why certain choices fail, so your final images feel intentional, dimensional, and elevated.
Why Some Maternity Outfits Look Flat on Camera
Studio photography is built on controlled light. Unlike outdoor or lifestyle photography, where natural light softens everything, studio lighting reveals detail, shape, and texture with precision.
Most professional studios use lighting calibrated around daylight balance, often close to 5600K. This clarity enhances structure but also exposes weaknesses in fabric, fit, and color.
When an outfit lacks structure or does not interact well with light, the camera cannot create depth. The silhouette disappears instead of being sculpted.
Mistake 1: Thin, Clingy Fabrics That Offer No Structure
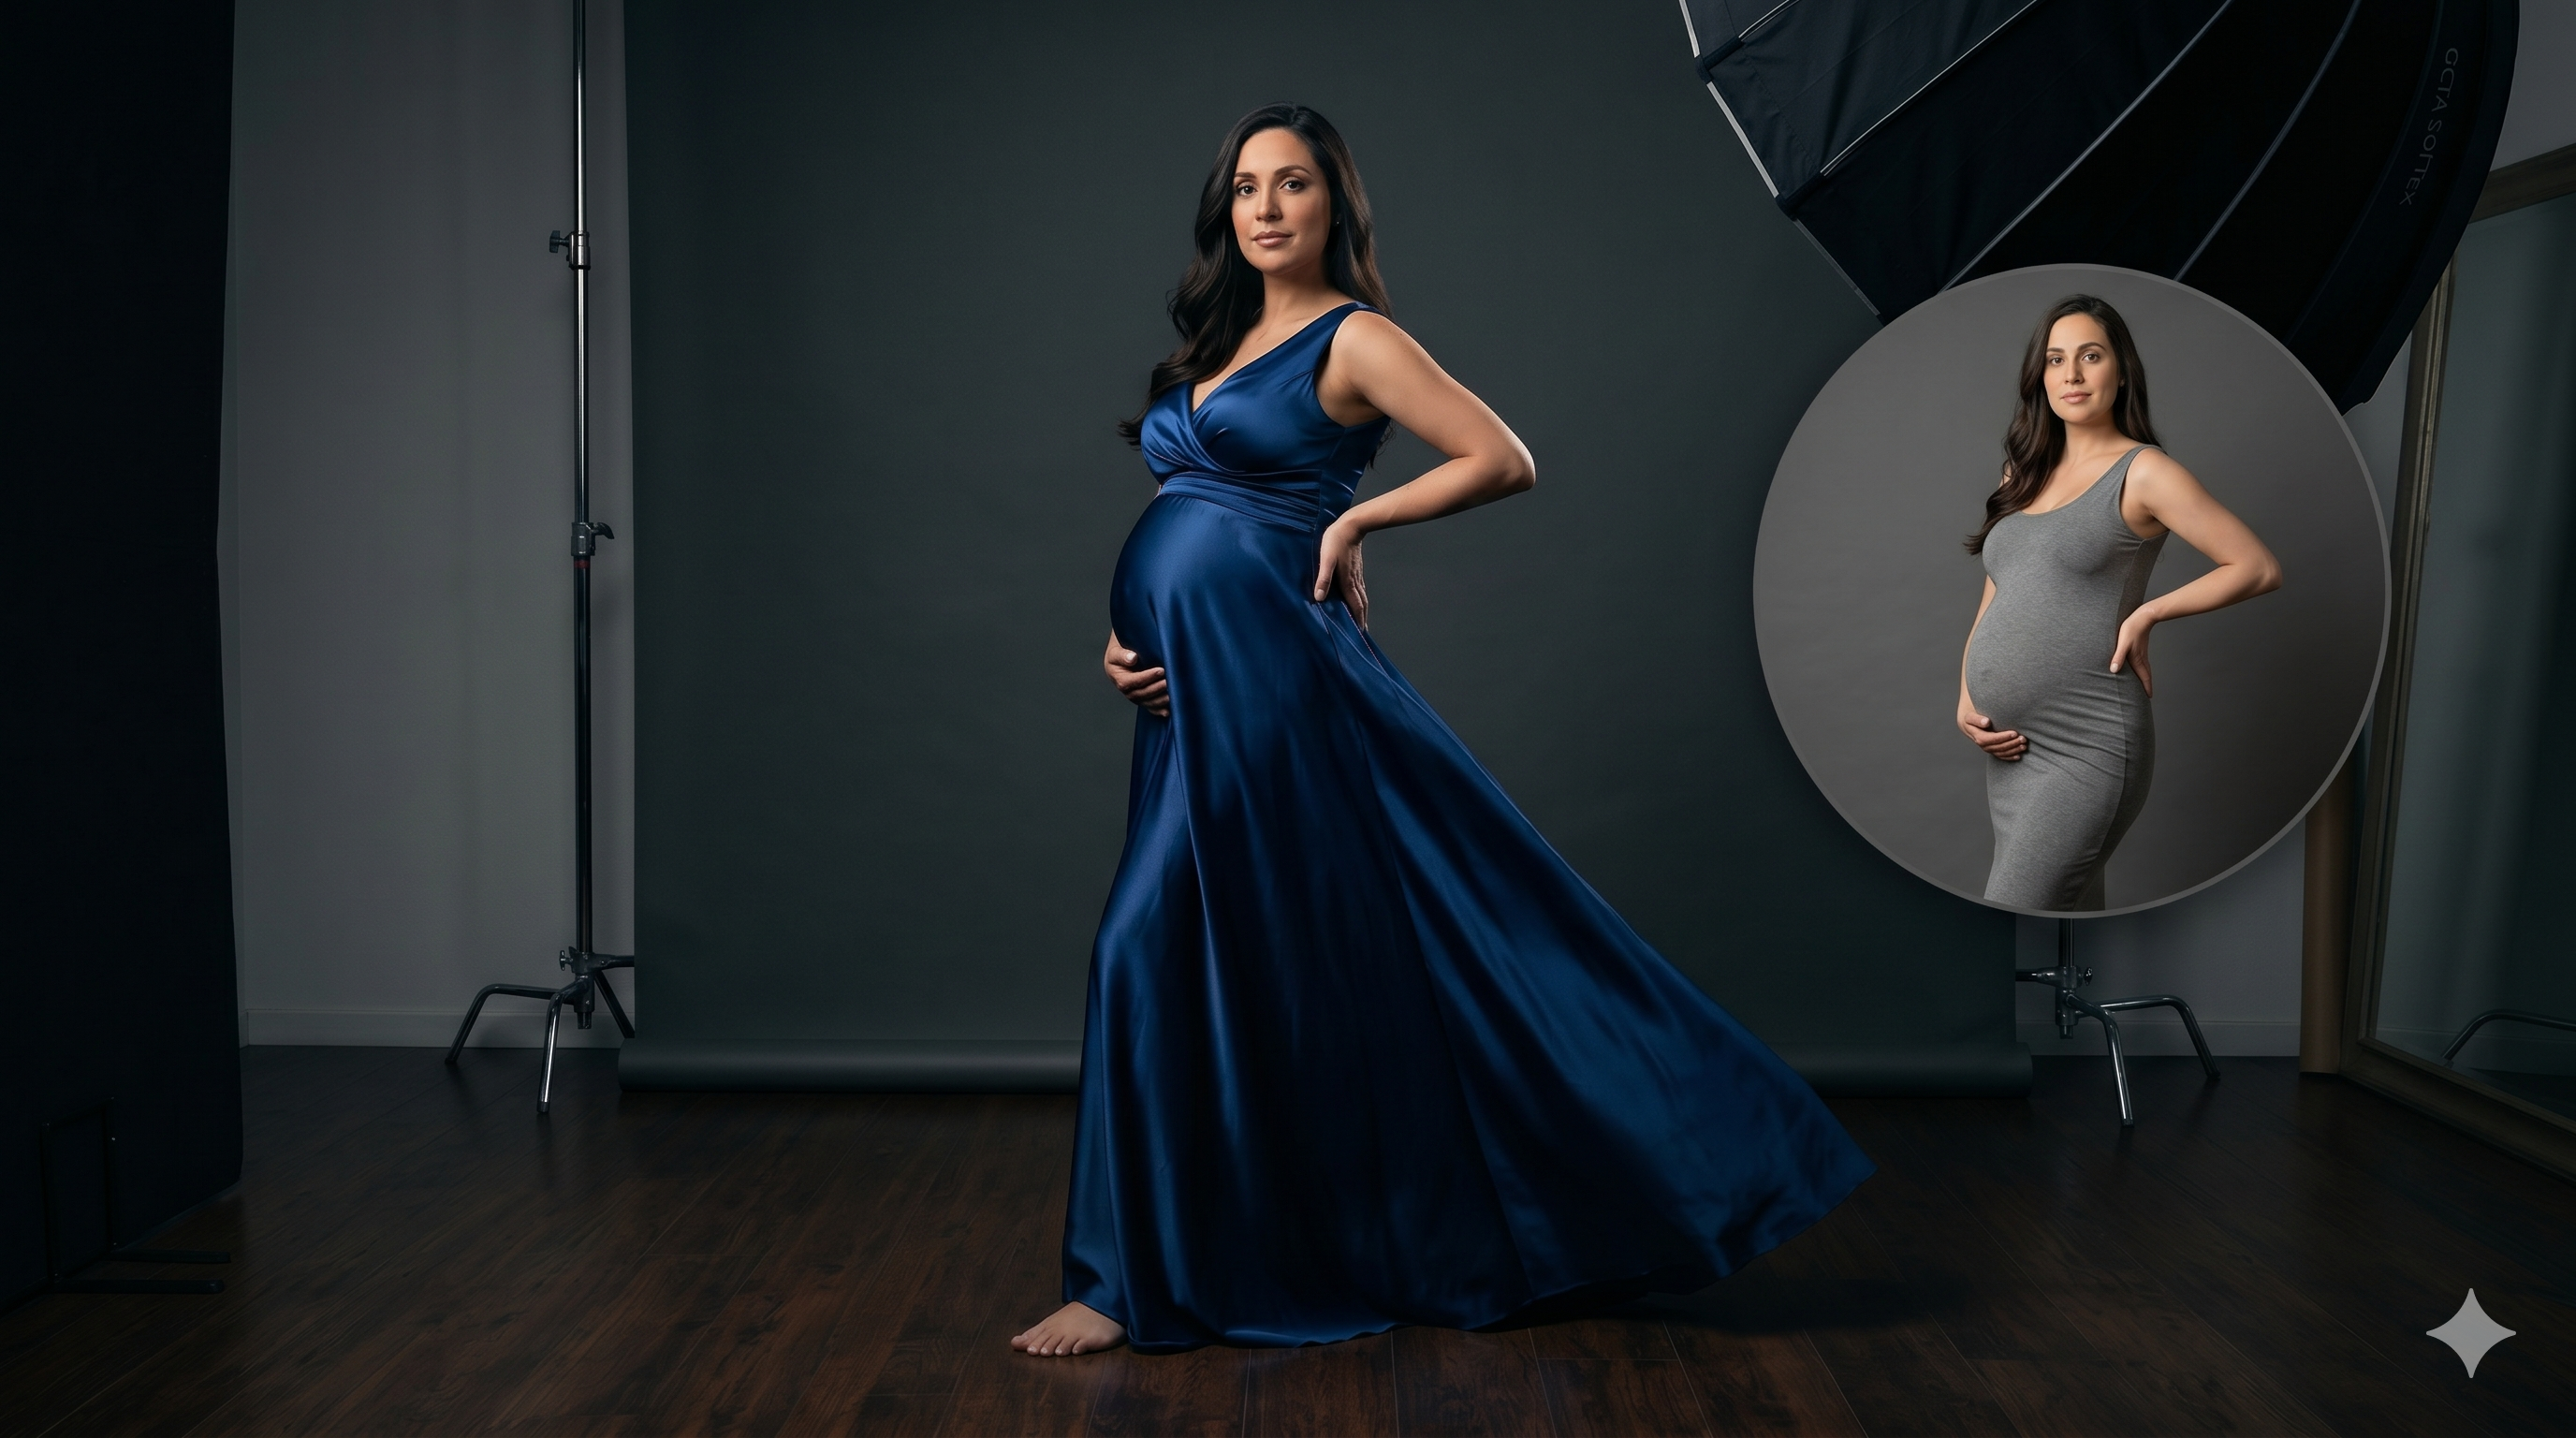
Soft, thin materials such as lightweight jersey or basic cotton may feel comfortable, but they rarely translate well in a controlled lighting environment.
These fabrics:
- Absorb light instead of shaping it
- Collapse against the body without creating definition
- Emphasize uneven texture rather than form
Instead of enhancing the silhouette, they flatten it.
What Works Better
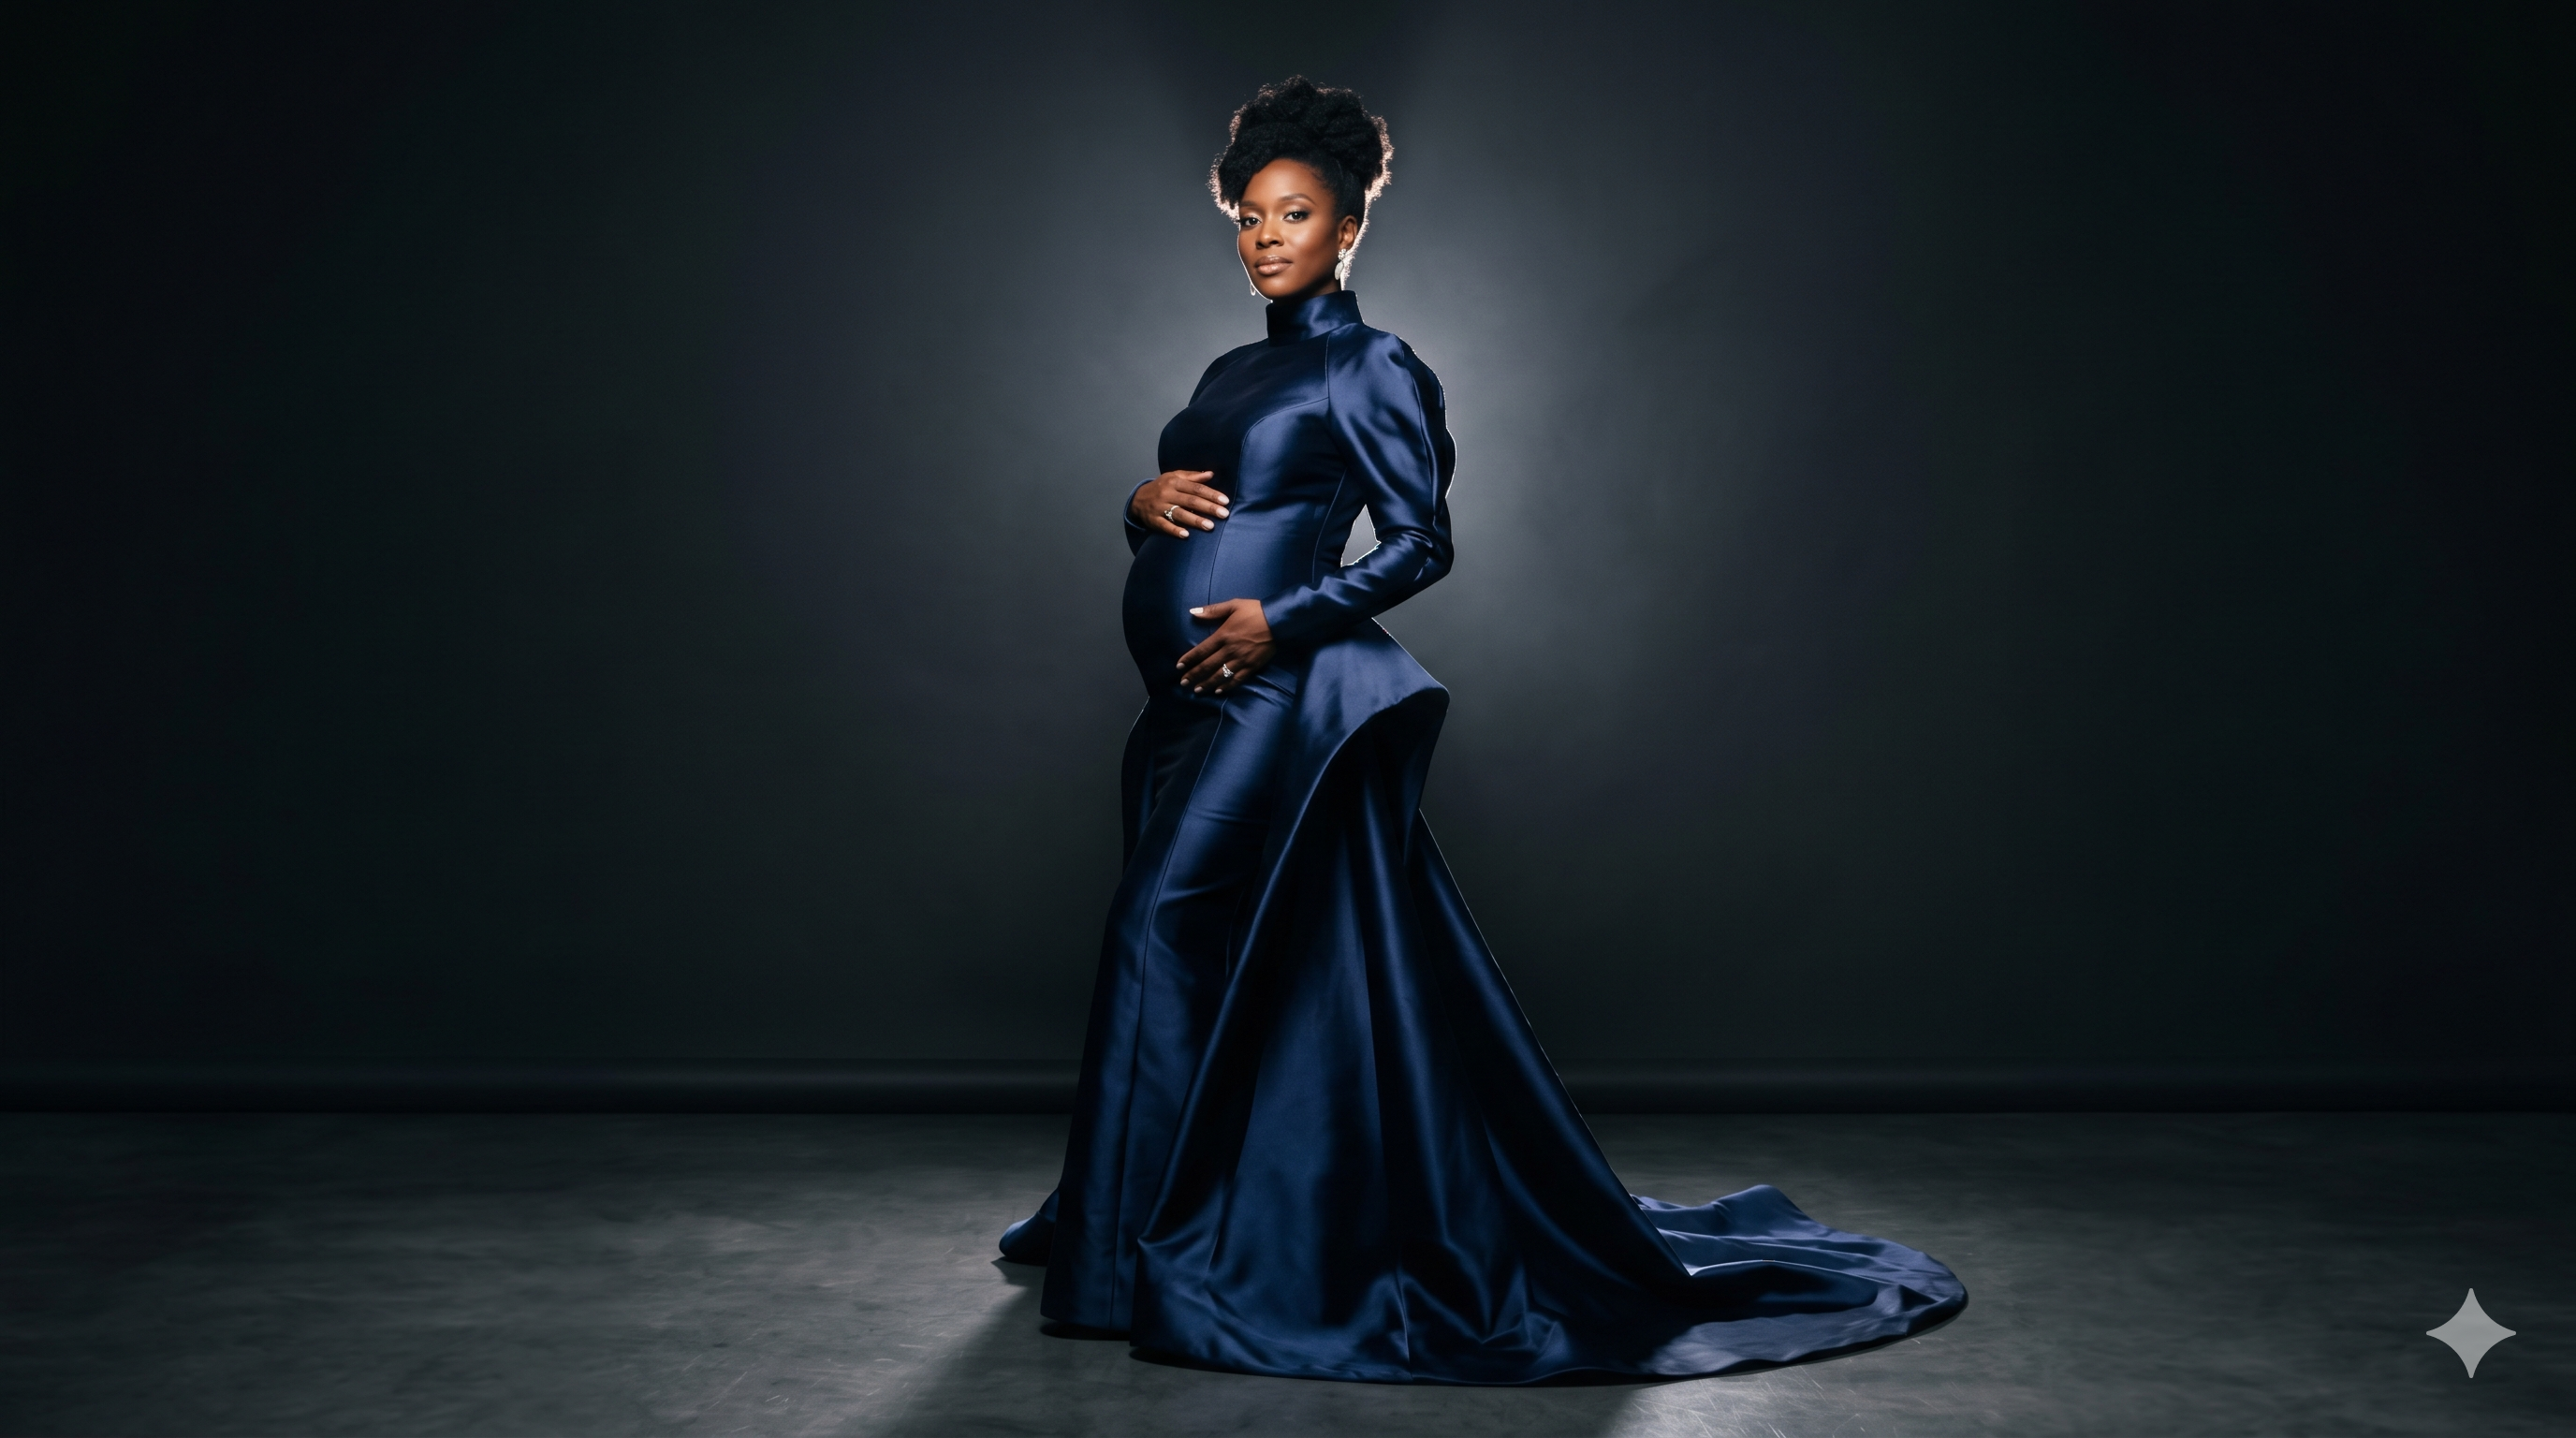
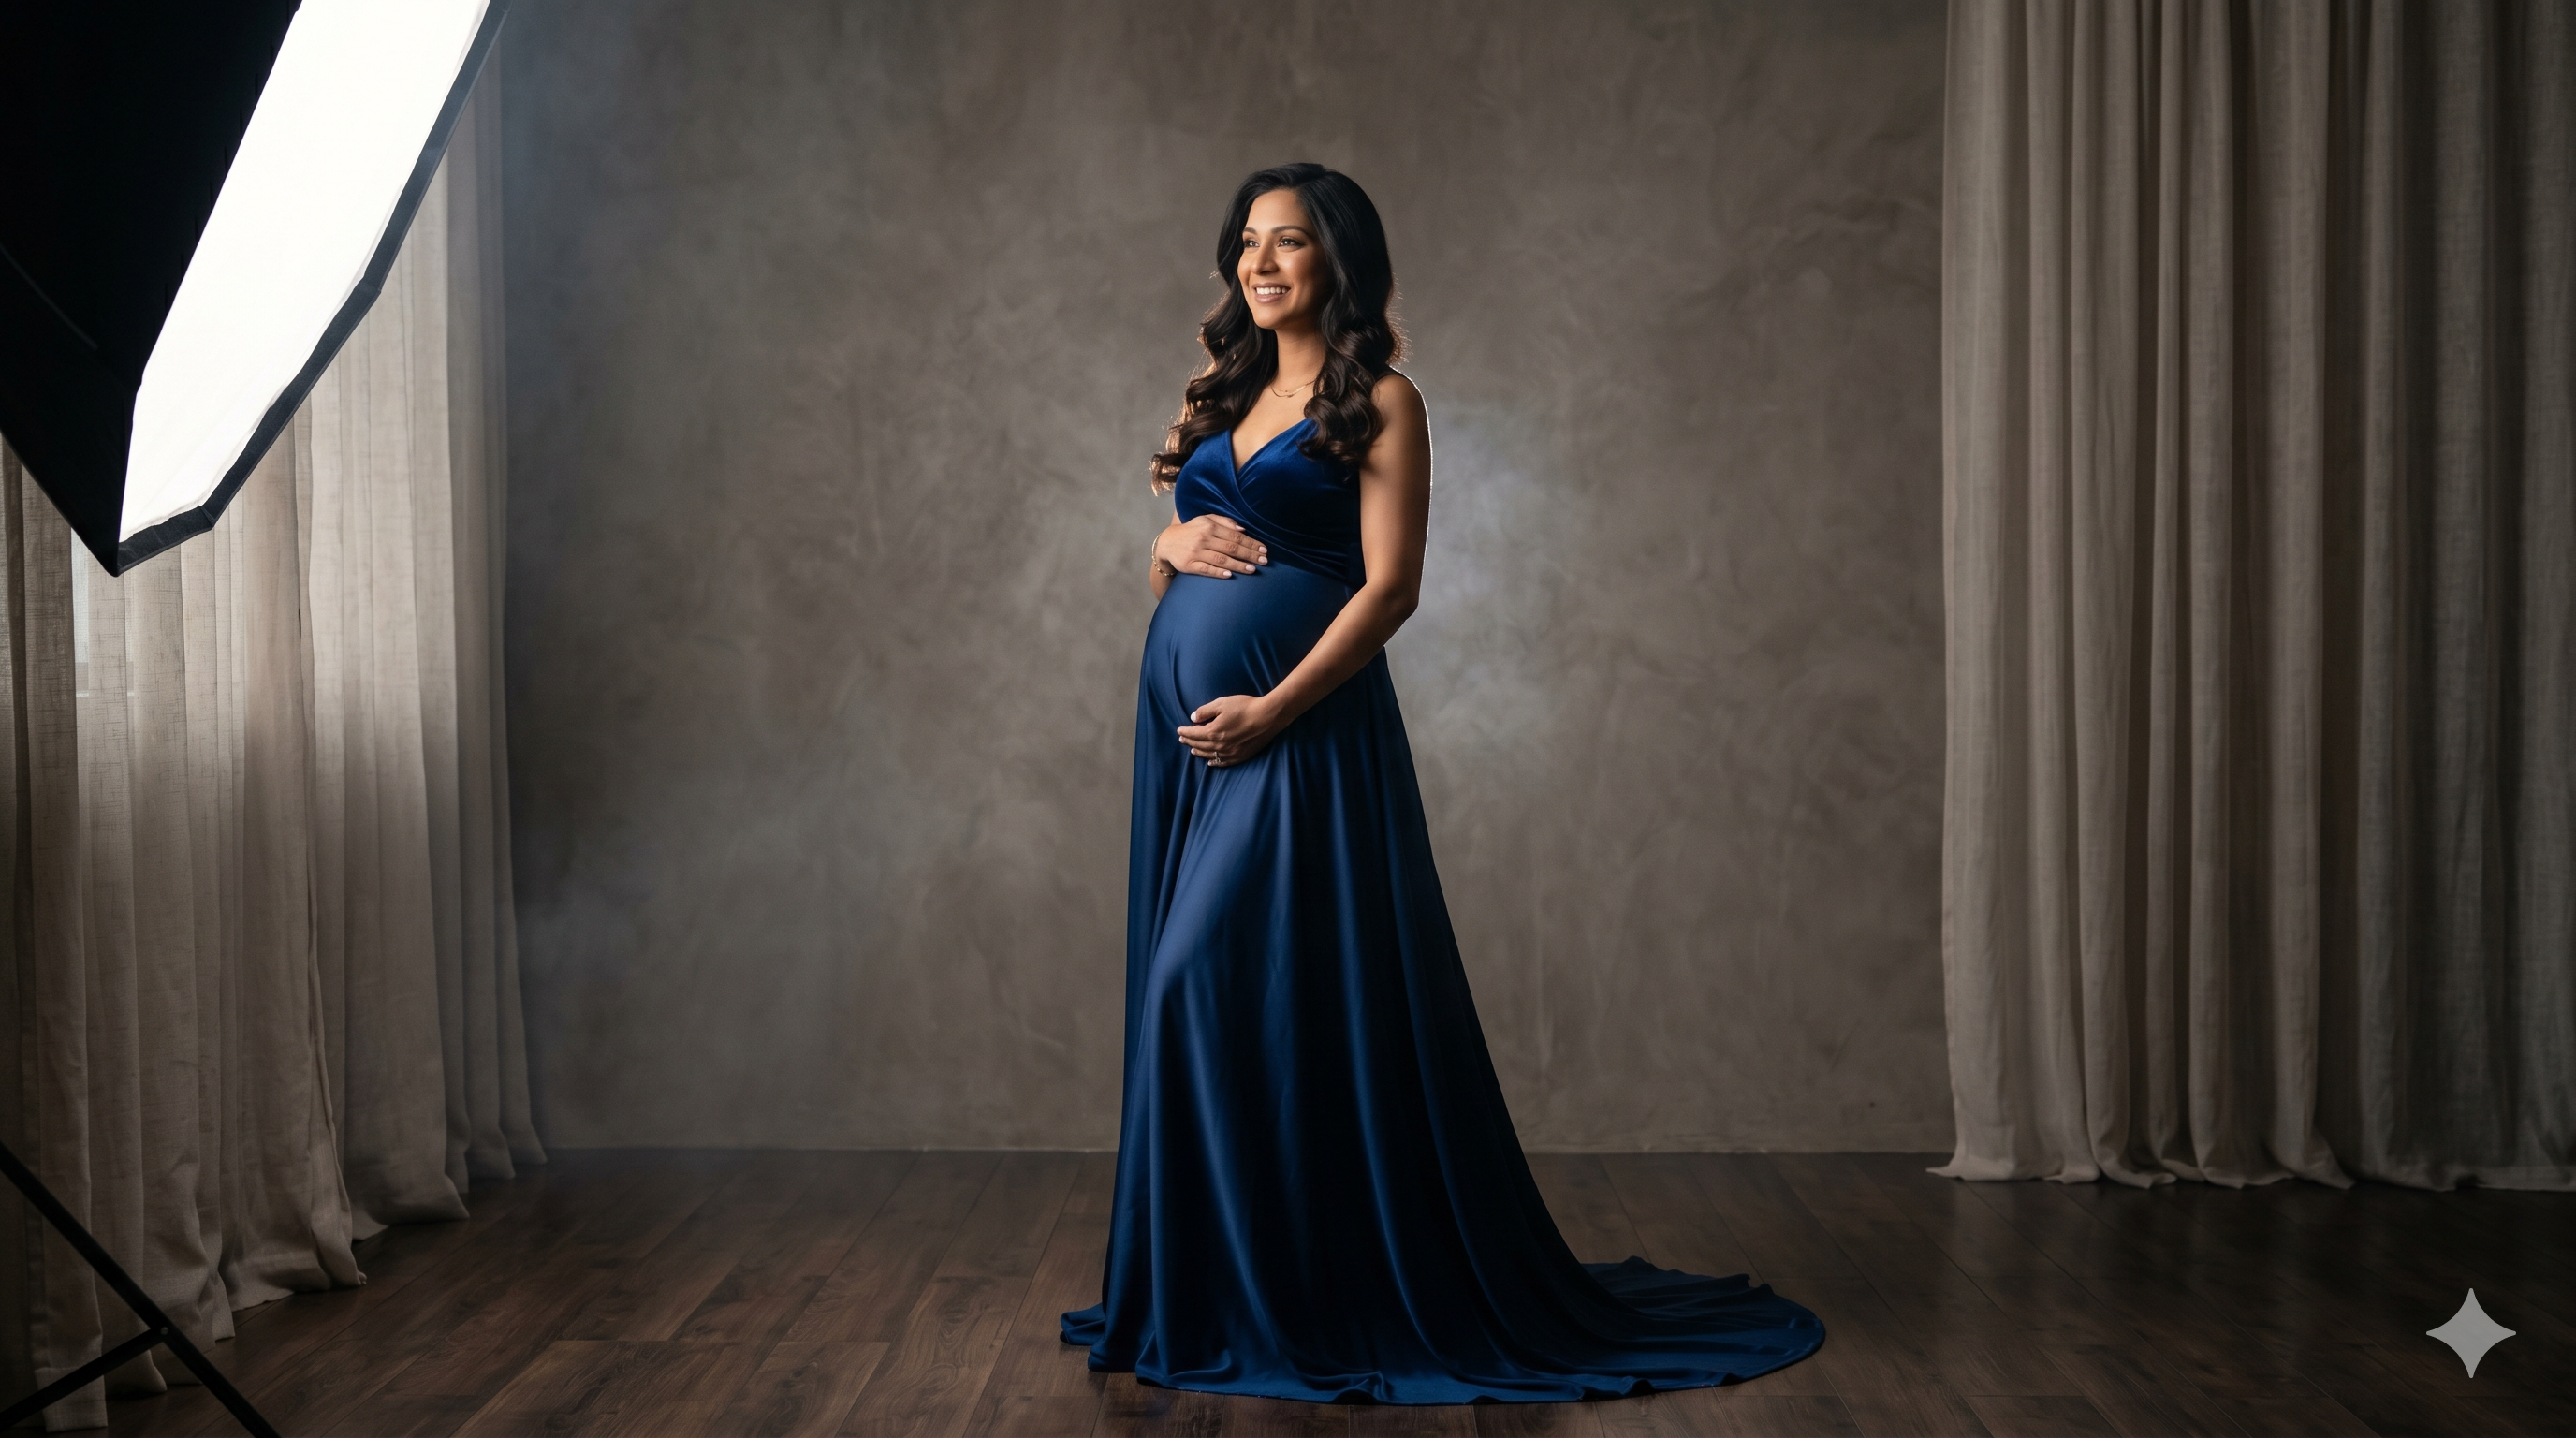
Structured fabrics such as satin, silk blends, stretch crepe, or layered chiffon create separation between body and fabric. This allows light to define curves instead of erasing them.
Mistake 2: Oversized or Baggy Clothing
Loose clothing is often chosen for comfort or modesty, but in photography, it removes all visual structure.
Without defined lines:
- The body shape becomes indistinct
- The image loses focal point
- The subject blends into the frame
In a studio setting, where lighting is designed to sculpt form, oversized clothing works against the entire purpose of the shoot.
What Works Better
Tailored silhouettes or form-fitting gowns that follow the body’s natural shape allow light to define curves and create depth.
Mistake 3: Busy Patterns That Compete With the Subject
Patterns may feel expressive, but they often introduce visual noise that distracts from the subject.
In studio lighting:
- Patterns break up the silhouette
- They pull attention away from the face and form
- They reduce the timeless quality of the image
What looks playful in real life can feel chaotic in a final portrait.
What Works Better
Solid tones or controlled textures allow the lighting and composition to remain the focus.
Mistake 4: The Wrong Shade of Neutral
Neutral tones are often recommended, but not all neutrals behave the same under studio lighting.
Certain shades:
- Blend into skin tones
- Lose contrast
- Create a washed-out effect
This is especially noticeable under precise lighting conditions where separation is essential.
What Works Better
Neutrals with contrast such as deep ivory, rich beige, charcoal, or true black create separation and dimension.
For a deeper breakdown of how color behaves under studio lighting, see technical studio lighting guide.
Mistake 5: Outfits That Ignore Light Direction
Lighting is not just brightness. It is direction, shape, and control.
If an outfit does not respond to light direction:
- Shadows cannot define the body
- Highlights do not create dimension
- The image feels flat regardless of posing
This is where many outfit choices fail, even if they look beautiful on their own.
What Works Better
Materials that catch light selectively such as satin, silk, or layered fabrics allow highlights and shadows to create depth.
Mistake 6: Choosing Comfort Over Visual Impact
Comfort matters, but photography is a visual medium. An outfit that feels easy does not always translate into a powerful image.
The goal is not just to feel comfortable during the session, but to create an image that holds presence and intention.
This does not mean discomfort. It means selecting pieces that balance:
- Fit
- Movement
- Structure
- Light interaction
Mistake 7: Ignoring Movement Potential
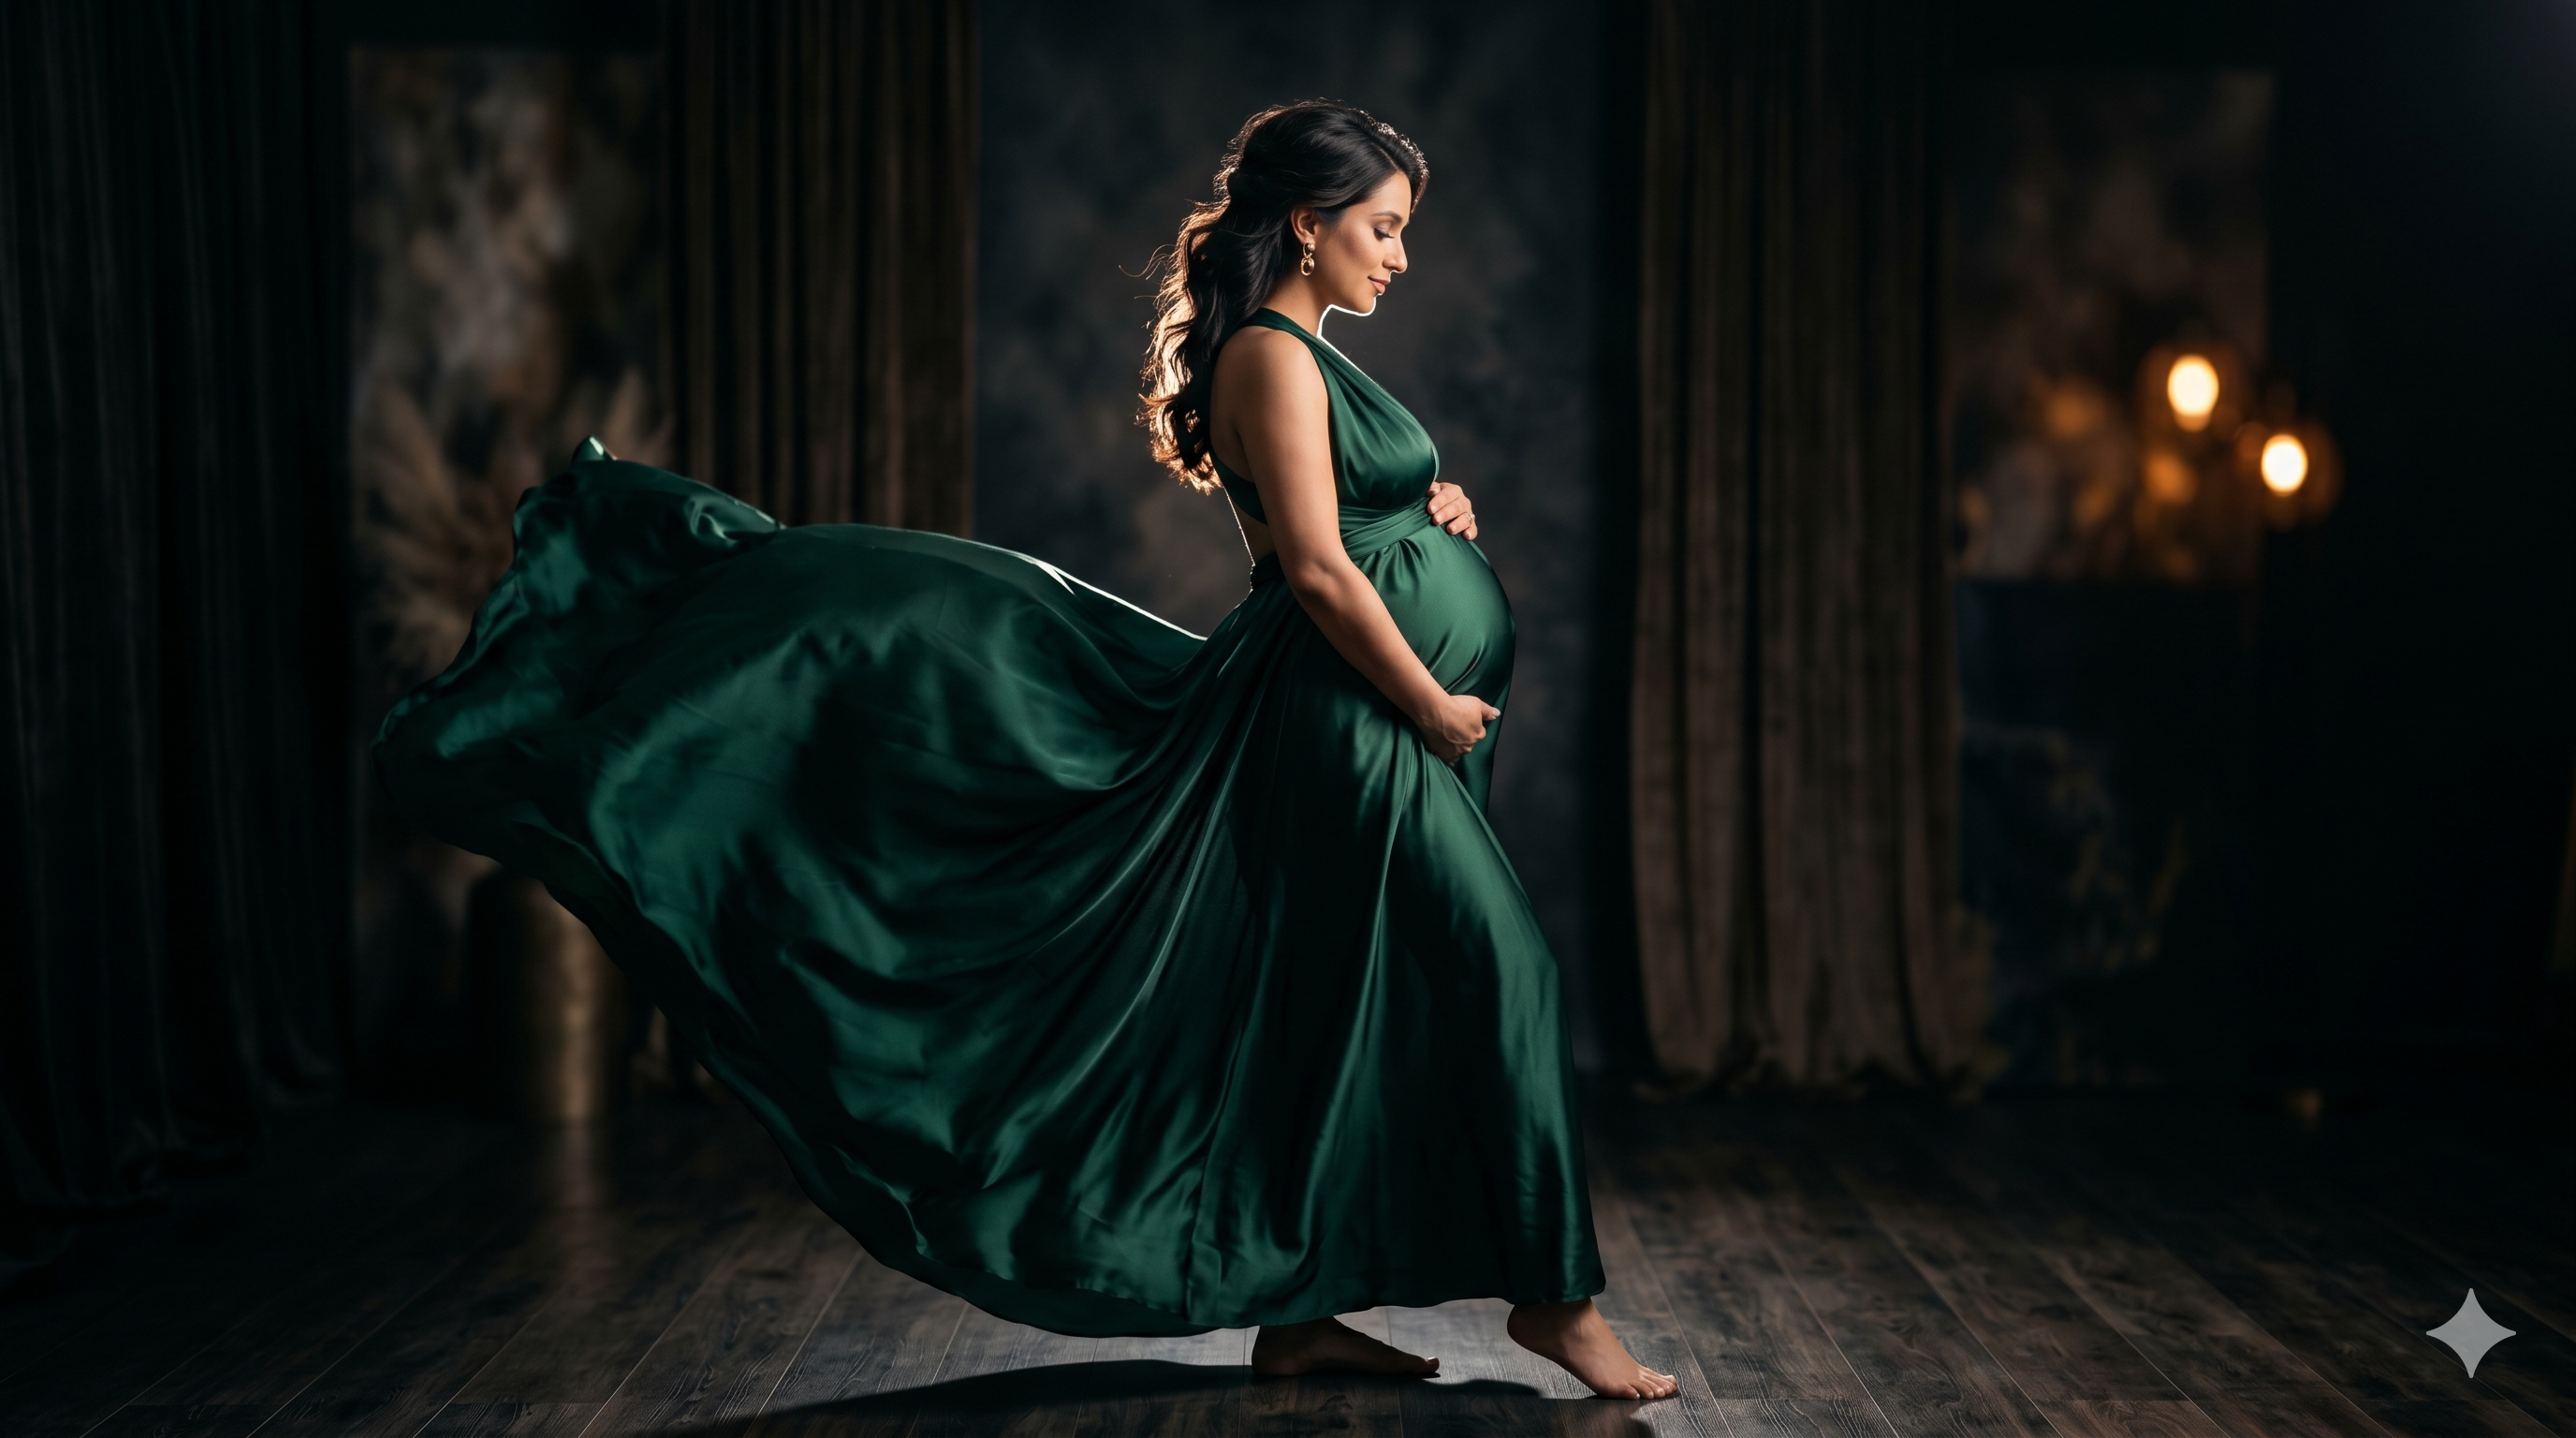
Some of the most striking maternity portraits use movement to create shape and drama.
Outfits that are too stiff or too minimal:
- Do not move
- Do not create visual flow
- Limit creative direction
What Works Better
Layered fabrics, extended trains, or flowing materials that respond to motion can create dynamic compositions, especially when combined with controlled lighting.
How Preparation Impacts the Final Look
Wardrobe is only one part of the final image. Preparation, skin tone, and styling all contribute to how light interacts with the subject.
If you are planning your session, this guide provides a complete preparation framework.
The Real Difference: Flat vs Sculpted Images
The difference between a flat image and a sculpted one is rarely the camera or the lens. It is the combination of:
- Fabric behavior
- Fit and structure
- Light interaction
- Intentional styling
When these elements align, the result is not just a photograph, but a composed, dimensional portrait.
Final Thoughts
What you choose to wear is not just about style. It directly affects how light interacts with your body and how your final images will feel.
Avoiding common mistakes allows the focus to remain where it belongs: on form, presence, and the visual story being created.
A well-chosen outfit does not compete with the image. It becomes part of the composition.


