The Complete Guide to Maternity Photoshoot Outfits (Studio Edition)


Choosing your maternity wardrobe is the foundational decision of your session. In a studio environment, your clothing is more than a style choice - it is a technical variable. Outfits dictate how light interacts with your body, how your silhouette is defined, and how polished the final images appear.
Most guides focus on fleeting trends. This guide breaks down the mechanics of what actually works under professional strobe lighting to produce images with structure, depth, and authority.
Why the Studio Changes the Wardrobe Rules
Studio photography is a high-clarity environment. Professional lighting setups are typically balanced near 5600K (daylight), a temperature that reveals every detail. This clarity amplifies texture, highlights fabric quality, and sharply defines contours.
In a park, natural light is forgiving. In a studio, light is intentional. If an outfit lacks structure or reacts poorly to a flash, the image can feel flat or "unresolved," regardless of the camera used. The goal is to choose pieces that behave predictably under controlled light.
Silhouette Strategy: Fitted vs. Flowing
Every successful maternity look serves one primary purpose: creating shape. In the studio, you are essentially choosing between two architectural directions.
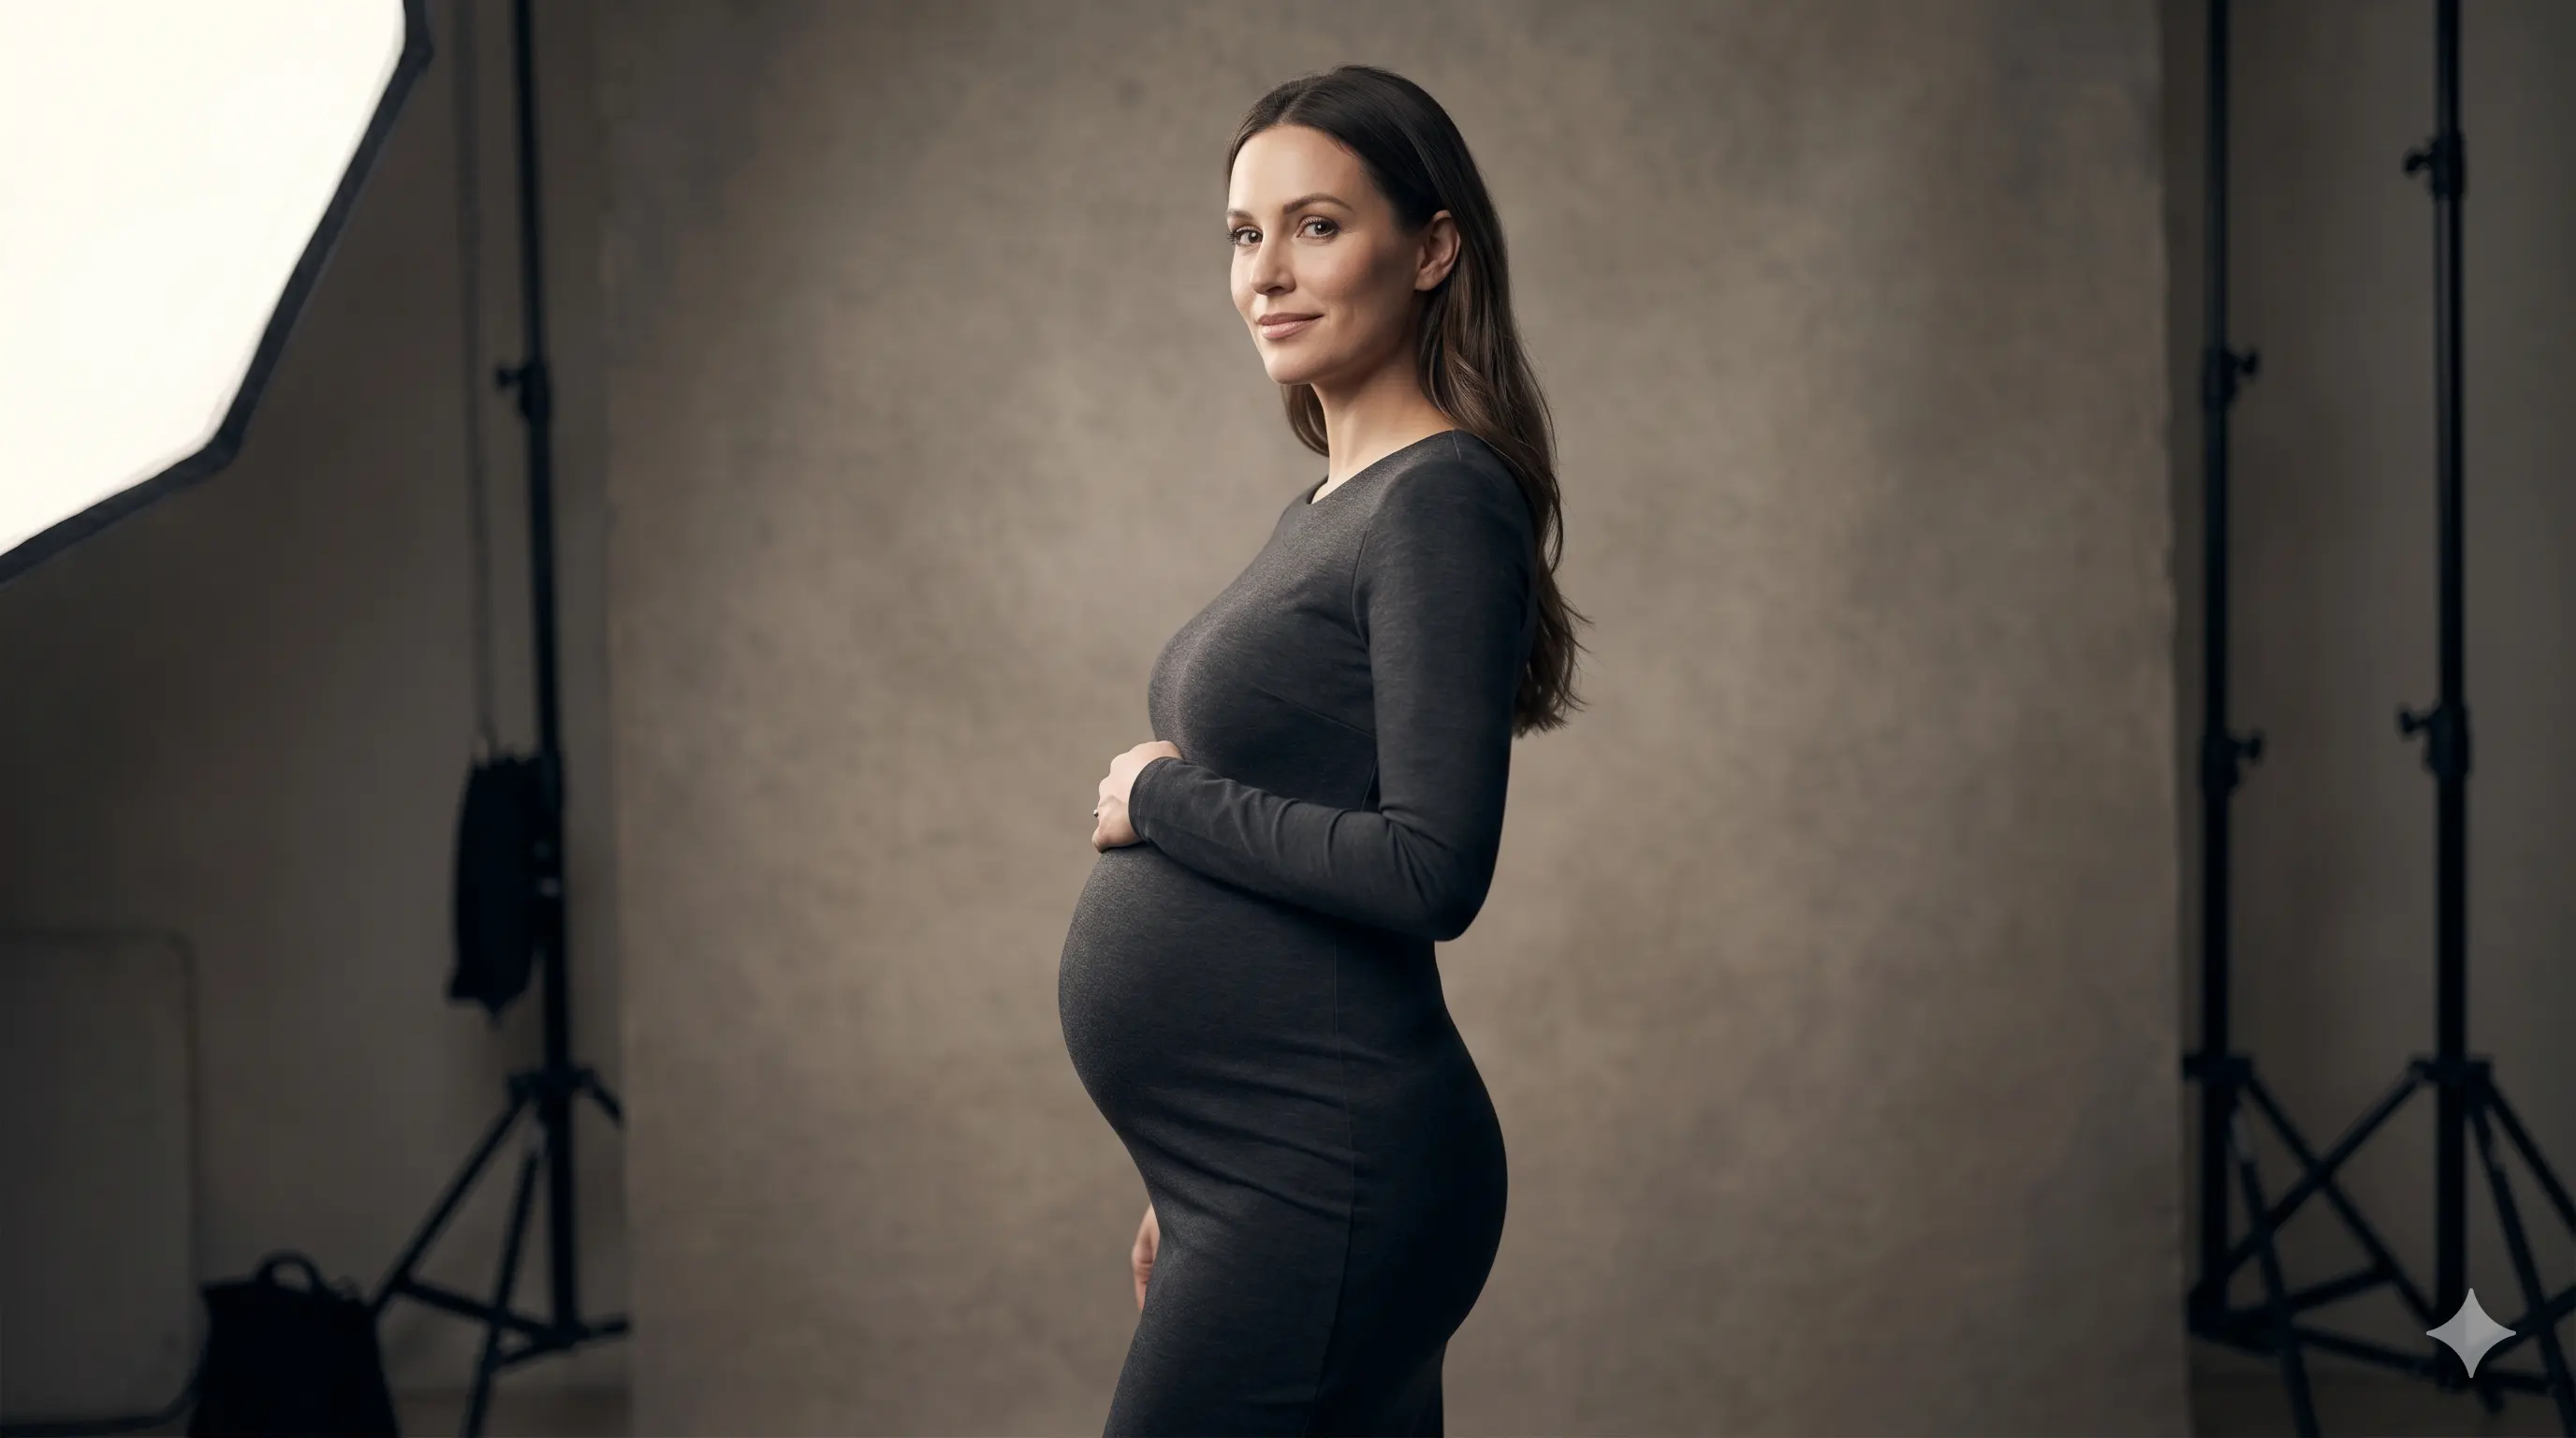
The Fitted Approach (Sculptural)
Fitted dresses follow the natural geometry of the body. They are designed to create a clean, modern outline that emphasizes the "S-curve" of the pregnancy.
- Best For: High-fashion, editorial, or "Vogue-style" portraits.
- Technical Tip: Look for "heavyweight" materials like stretch crepe or double-knit jersey. These fabrics provide enough tension to smooth the silhouette while remaining flexible.
The Flowing Approach (Kinetic)
Flowing outfits introduce movement. These are the gowns designed for drama—billowing chiffon or silk that creates a sense of scale and motion.
- Best For: Fine-art, ethereal, or high-impact "action" shots.
- Technical Tip: Fabric weight (denier) matters here. You need material light enough to be caught by a fan or tossed by an assistant, but with enough "drop" to fall gracefully.

Fabric Science: Reflectors vs. Absorbers
Fabric determines how light "travels" across your body. You are looking for materials that either catch highlights or create rich, dimensional shadows.
- The Winners: Satin and silk blends catch "specular highlights," which naturally guide the eye to the bump's curve. Velvet is the king of studio depth; it absorbs light in the folds and reflects it on the peaks, creating a three-dimensional effect that looks incredible in print.
- The Pitfalls: Thin cotton and standard jersey tend to "eat" light, resulting in a flat, matte appearance. High-gloss synthetics often create "hot spots"—distracting white patches of overexposed light.
For a deeper dive into materials that fail the camera, see: What Not to Wear for Maternity Photos.
Color and Background Separation
In a studio, the objective is separation. You want to stand out from the backdrop, not disappear into it. Deep, saturated tones like emerald, navy, or charcoal provide maximum contrast against neutral studio walls. Light tones like cream or champagne are timeless but require "high-key" lighting expertise to keep the subject from looking washed out.
If you are unsure how your favorite color will look under a flash, review our technical studio lighting color guide.
The Logistics of a Professional Session
1. Quantity Over Volume
Bringing your entire wardrobe leads to "decision fatigue." Every outfit change consumes shooting time. Aim for two primary looks: one fitted and one flowing. This provides a diverse gallery without breaking the creative flow.
2. The Foundation
Undergarments are the "scaffolding" of your look. Because studio light is so crisp, seamless, skin-toned underwear is mandatory. Avoid black or white undergarments; always match your actual skin tone to ensure they remain invisible under the strobe.
3. Avoiding the "Shape-Killer"
Oversized, baggy clothing is the most common mistake in maternity photography. In person, it feels comfortable; on camera, it hides the very thing we are celebrating. If you aren't showing the bump, the image often just looks like a standard portrait in a large dress.
For more on common errors, see: Maternity Photoshoot Mistakes That Ruin Photos.
The Final Polish: Posing and Prep
A great outfit is a tool, but you have to know how to use it. The way you angle your body dictates how the fabric drapes. If you’re wearing a fitted gown, posing is about creating "angles." If you’re in a flowing dress, it’s about "motion."
If you want to understand how positioning affects the final look of your wardrobe, read: How to Look Slimmer in Maternity Photos.
Finally, remember that preparation begins before you put the dress on. Ensure your clothes are steamed (studio lights catch every wrinkle) and that you’ve followed a professional preparation blueprint to ensure your skin and hair complement your wardrobe choices.
The goal isn’t complexity; it’s clarity. When you choose fabrics that react well to light and silhouettes that define your shape, the result is an image that feels intentional, consistent, and timeless.